Monday, 4 March 2013

Totems

Chapter 5 is all about creating a totem. i thought i would look up the definition which said, 'a being, object or symbol representing an animal or plant that serves as an emblem of a group of people, such as a family, clan or tribe reminding them of their ancestry or mythic past'. it can also be a personal spirit helper. i looked back over my past modules and the thing that came out strongly was my use of and liking of repetitive items. i came across this image of 'Crayola' totems which made me laugh.


i was very keen to revisit the face/head shapes i had worked on in a previous module.


heads and faces are very much a part of graffiti which is my research project and i wanted to make something and use materials that i feel are me and where i have got to now! i also looked back on an image i took at the beginning of the Diploma.
i remember Siân saying she saw eyes in the wire mesh.
 and recently i came across this image which reminded me of the above image.
Barbara Hepworth by Ida Kar
so i was very keen to use wire shapes to capture the facial features.
my one worry was the brief which asked for them all to be linked in some way and i was very keen to have them all standing upright (stubborn).

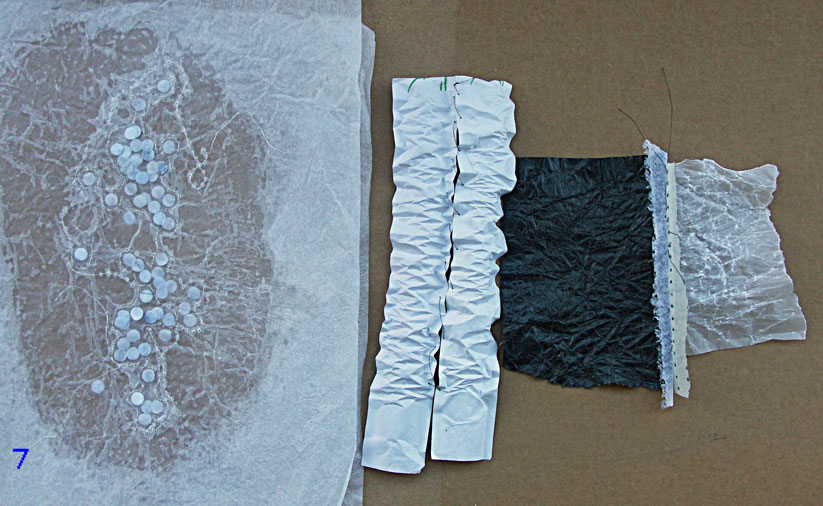
my first attempts, left rusted paper with resin, middle recycled can and right, paper with self portrait print.
  i wasn't very pleased with my first attempts although looking back at them there might be something that could be used!

my next attempt was based on the right hand one above, using a wire frame with layers of paper stitched to it and then a final outer layer stuck over the top with PVA, essentially paper maché. they are 15cm high. i was keen to keep the self portrait!

here is my group so far, some are plain some are graphite (yes the liquid graphite i raved about on Facebook), some just wire and some are organdie.
detail, i have used horsehair to stitch through punched holes for the eyes and eyelashes.

i then placed then in a piece of plastic i found that has holes but they are only held in loosely.

then i took a few and secured them in a strip from a drinks can with holes.
i then took them and the plastic and put them in horizontally to hang up.

i got some great shadows.
the above horizontal ones reminded me of the lenses used by opticians. so these are my first attempts although i have more ideas and would like to try and link them into a circular necklace type thing but i thought i would get some feedback before i plunged in head first!

Sunday, 3 February 2013

Chapter 4 Design pattern from an ethnic source

still with the Aleutian Islands, i took for my design source 3 similar pieces.

a mask representing the sun collected by Francoise Pinart in 1871, not Aleut but collected from Kodiak Island and there are quite a few similarities. 
the top of an Aleutian gut skin cap, National Museum of Finland
and another, national Museum of Finland
 i used to HATE circles and everything had to be linear or square (that must say something about me!) but i have gradually warmed to this shape. with these pieces i have used the shapes within the circles themselves to develop designs. firstly doing some general drawings.
drawing from the mask using Markal and chalk and fingers!


using graphite and the point of the stick playing with segments.
i then cut some stencils based on the cap segments, these worked with graphite, markal and chalk.
i then used black spray paint and 'deconstructed' the circles using the cut out segments to make further patterns.

pattern on the left using the pieces to create a random spiral, i also rearranged the pieces back into vaguely circular shapes and more conventional patterning.
i then went on to stitch, piece on left i think is like a thick tracing paper. i am smitten with rusting paper at the moment so have used this quite a bit. piece on the right is graphite stencilled shapes and cut shapes made translucent with 'water effects' resin. all stitching with horsehair.
some more bits similar. shoebox tissue, graphite and some stitch with peacock feathers.


and finally more random patterning! on a paper bag.

 i wasn't looking forward to this chapter but i have enjoyed getting to the final outcome.

Sunday, 13 January 2013

Here we go, here we go!!!!

At last Chapter 3 'Transform and Personalise' took a while but here it is. the idea was to take materials from my stash and transform them using some unusual colourants. although the colourants i used were not so unconventional they were certainly messy!
i love this paper its a sandwich wrapper that is slightly glazed on one side. 
1. creases made with a ruler then graphite and coal dust worked in.

more sandwich paper
2. More graphite, chalk and coal dust. chalk worked through a mesh of holes.

shoe box tissue
3.and more of the same, sample on the right has oil worked into it to make it transparent.

brown wrapping paper
4. using old type stamps with ink, turmeric, coal and oil with a strip of aqua wax at the top

brown paper and plastic
5. brown paper folded with metal pieces i found on the pavement by a bus stop and rusted with vinegar, i have then printed with coal dust in 'water effects' using creased sausage skin as a carrier. the piece of plastic is what was left from my rusting process, so it does work on plastic!

an old drawing and brown paper
6. i used an old drawing i wasn't happy with to work more rust and the lower sample was rusted with oil and ink blots added after.

aleut bird skin parka looks like ink blots

not quite recycled but i didn't buy it recently!
7. i was thinking of the transparency of gut and thought of devore! i still have some mix in my fridge from way back and as you can see it still worked! the sample on the left was soaked in turmeric before the process, again i was thinking of the bits that are put into the seams on gut parkas and i have a thing for the bits of paper that are left when you tear file paper off a sheet so used them as masks. sample on the right was stitched and gathered then printed with the gunk, dried and stitches removed.

Chinese character practise paper
8. more ink blots and sausage skin prints

scrap of note pad and old baking parchment
9. more inkblots with 'water effects' and coal etc

old bank envelope and calico
10. i made some egg tempera with coal dust and more shibori, the sample on the right was soaked in turmeric before, the stitching was removed after printing through a screen. i like the shiny quality of the tempera but not the smell! afterwards i was reading other recipes which mention putting something in to stop mould growth which i wish i had done considering how wet it is down here!

all in all this has been quite a smelly chapter, oil, coal dust, turmeric and egg pleased i didn't use compost. 

Thursday, 3 January 2013

New Posting

There is a new post on my sister blog here at  'Aleut Embroidery'

Saturday, 22 December 2012

Merry Christmas Everyone


Wishing all my followers, friends and surfers a Very Merry Christmas and creative 2013.

Sunday, 2 December 2012

New blog for Embroidery Study

 Hi All, just to let you know i have created a new blog for Module 6, Chapter 1: research into another cultures embroidery. it's called Aleut Embroidery Study, so follow the link.

Saturday, 3 November 2012

Collect and Transform (at last!)

at last i have something to show and as i haven't posted chapter 1 yet i will show a few of the surfaces i am using for inspiration; so above is sea mammal gut which is transparent.
the items i am looking at are composed of long gut strips sew together and often with beautiful insertions of feather, wool, hair etc.
they are stitched with sinew and sometimes coloured with minerals.  

So as i said in my previous post i am not buying anything for this. i collected together old wrappings, mainly transparent and/or with a parchment like quality. so #1 shows sandwich wrappers and paper bag,left and middle scrunched around a ruler. right using old iron on transfer and stitch.
detail of sandwich bag with feather
next lot from left, paper serviette rushed with stitching and then waxed and ironed flat, cereal wrapper distressed, old cupcake case distressed and pleated then punctured and finally a piece of waxed tracing paper with horsehair stitching.
#4 shows more cereal wrapper with stitching, a plastic carrier with ruched stitch lines and stitched sausage skins!
#5 is a detail of the cereal wrapper and loosely stitched nylon thread.
detail of the sausage skin. more about this later but basically you wash it, blow it up, tie both ends and let it dry inflated then it goes lovely and crispy. i am a complete convert!!! and no i didn't buy it!
#7 from left shows two pieces of tissue with punched holes from the hole puncher sandwiched with melted wax plus some stitching. next 2 chop stick wrappers (we like chinese food) and then a stitched 'seam' with inserts.
detail of the wax and punched 'holes'.
and finally detail of strips inserted in a seam. it has taken me a long time to get going with these samples mainly because i have got so involved with the original products and finding it all so fascinating, anyway i am off to the Pitt Rivers next week to see what they have.